Once again its time to celebrate the winners! But before that we want to thank
everyone who entered the Drills and took part in the Basic Training. We spend a
lot of time going through each and every entry, and wereso impressed
with the submissions!
Mother's Day is right around the corner so I threw together a fun little project that all those photo-loving Grandmas will be thrilled to have.
It's a dandelion vase!!!
A half size water bottle (8 oz) fits perfectly inside. I would have demonstrated its usefulness, but we are still under a foot or so of snow so no dandelions here!
Here is a preview of some of the supplies I purchased...The pencil cup, floral wire, and Studio g charms were only a dollar each!!!
Supplies:
Printed Butterfly Cardstock (I used MME:My Girl)
Assorted cardstock for punched flowers
Floral Wire
Binder Clip
Charms
Stickles
Twine
Ink
2.5 by 3.5 Photo
Large and small brads
2 inch Circle Punch
1.5 inch Flower Punch
Step 1: Cut multiple butterflies from printed paper, ink the edges.
Step 2: Embellish with stickles.
Step 3: Stack two butterflies and add a thin line of glue on the body.
Fold top butterfly wings up when glue is dry.
Step 4: Cut 6 inches of floral wire, warp around body of butterfly, leave tail loose.
Step 5: Wrap loose butterfly "tail" around rim of pencil cup.
Step 6: Punch 5 circles from patterned paper using a 2 inch circle punch.
Punch 5 flowers from patterned paper using a 1.5 inch flower punch.
Step 7: Pierce a hole through the center of the flower and circle.
Use a small brad to attach flower assembly to pencil cup.
Add large flower brads, photo, binder clip, and charms (strung on twine) as shown.
Hope this Dandelion Vase is just the project you needed to show someone a little love. Stop by my blogScrappin Chaos for a list of supplies used.
Modeling paste is all the rage now. Some of you may be familiar with modeling paste, others may not have ever used it. Today, I am going to challenge you to try this fun element on your layout!
OK, let's get started!!
First, you will need to buy some modeling paste. Not to be confused with gesso. Modeling paste is a little bit thicker than gesso, and will give you more dimension. However, if you have gesso, and would like to use it, no problem. You will achieve the same, similar result. Or, you can also make your own modeling paste. Just check out you tube to get directions. I use Liquitex Modeling Paste. I purchased this at Hobby Lobby, and the price was $20.99 (less the 40% coupon). This is a medium size jar, there is one smaller. (Don't forget to use a 40% off coupon for your Hobby Lobby purchases).
Next, you will want to make sure that you have a mat down on your work space, because, this can get a tad messy.
These are a few tools you may want to use. Also, pull out your favorite mask.
Next, you will want to set your mask down on your paper, and apply the paste to the top of your mask. This is very similar to icing a cake. You can apply it as thin or thick as you want. Play with this. Try it on a scrap piece of paper to get the look you want.
Once you are finished covering the mask, carefully lift off the mask from your paper. And, there you have it! I let my modeling paste projects air dry.
Here is another mask I played with. Check out the awesome dimension!
Something else you can do, if you don't want your element to be white, is to add paint to the modeling paste. Just be sure to mix it up real well so it's not streaked with white.
Here is the finished product with the paint added:
You can also apply it with a brush, similar to painting on your layout. It will look like paint, but, depending on how thick you apply it, it will have some dimension. Modeling paste also takes misting and chalk very well, so you can apply color after you apply your modeling paste if you wish.
Get creative with this! If you are a pro, try a technique you have never tried before! If you have never used modeling paste on any of your layouts, I really hope that you will try this!
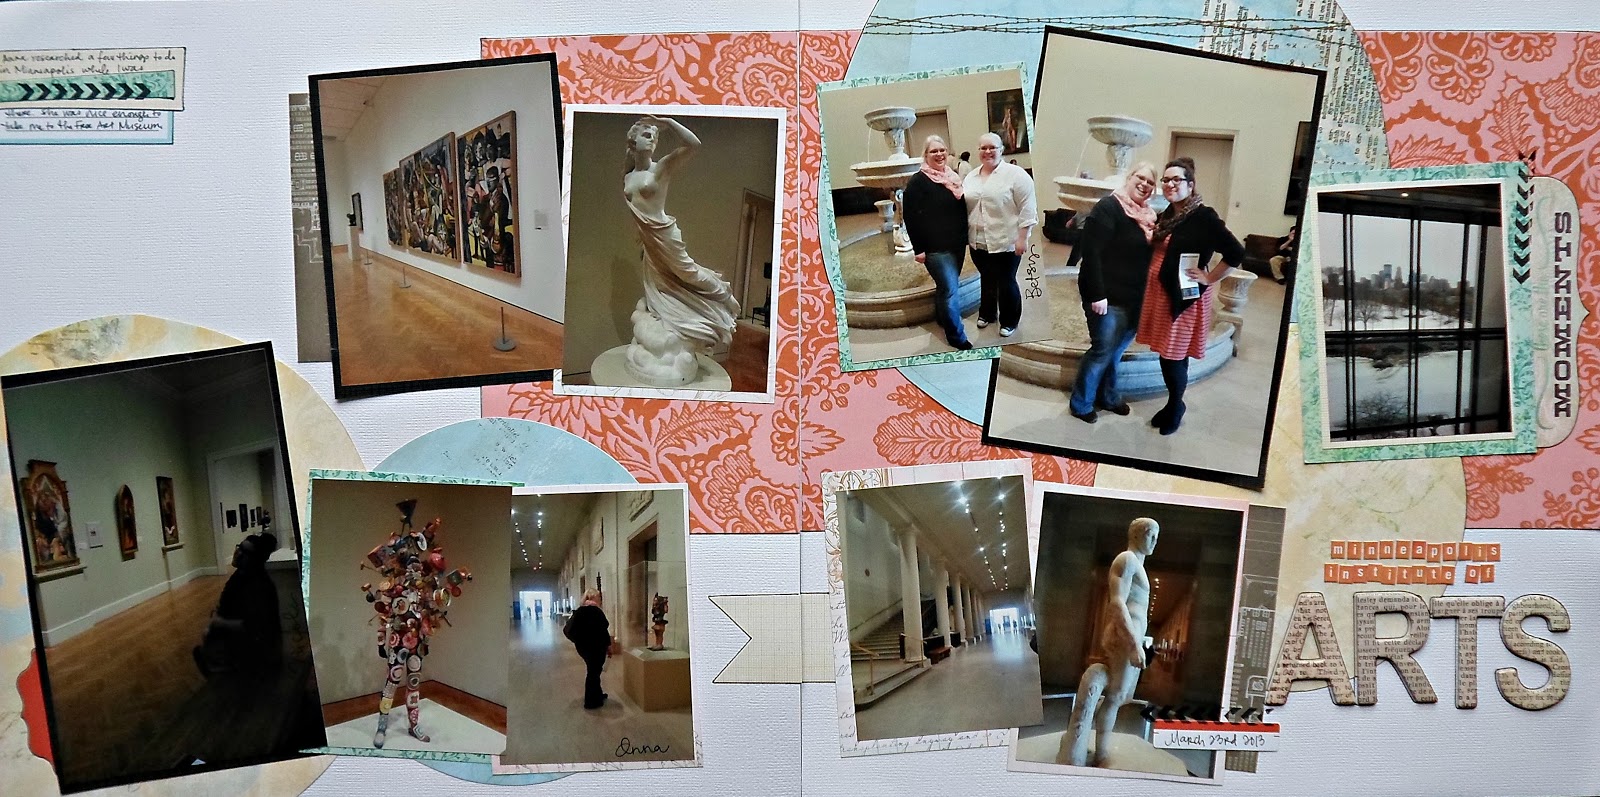
Here is my layout using modeling paste.
We would love to see your newly created "modeling paste" project! Submit a project showcasing your modeling paste element, for a chance at becoming our featured S.W.A.T. girl. One winner will be chosen from all of the entries. Be sure and link up your project using Mr. Linky. Have fun, and be creative!
Don’t worry you're not
alone, we all have boxes and boxes of embellishments, tubs of buttons and ribbon,
stamps that we used once and paper stacks that could take over the house.
So this month we challenge you to dig deep into your stash and
find that paper that you bought years ago and find a way to make that long
forgotten scrappy goodness trendy and new!
The S.W.A.T Girls have been busy! Let’s take a look at what they
have created to inspire you!
Alison breathed new life into some old products by using card stock from her stash and a cut file for her new Silhouette to create the bubble back ground. She then dug into her washi tape stash (some being upwards of 4 years old!) and filled in the bubbles with different patterns and colours of washi tape.
Being invited to be featured on the S.W.A.T. blog was a big honor!!! I am so excited to share a little about me and a couple of my favorite projects with you. So here we go...I am known on line as by belle but my name is Michele. I am from Michigan and I am on the design teams for CropChocolate.com and Scrappy Chic. Here are a couple of questions the girls at S.W.A.T. asked...
1. How long have you been scrapping and why do you love it?
I have been scrapping as long as I can remember... I have ALWAYS loved making stuff. When I was young is was cards and that has been my staple but a couple of years ago I really LOVED altered items and home decor. Layouts are my latest obsession and I really want to learn more about minis. I have to be creating all the time! It is a huge part of who I am! It relaxes me and I just LOVE being in my scrappy space cutting, stamping, folding, inking...
2. What are you favorite tools and manufactures?
My favorite tools are my Big Shot and my punches. I use them all of the time on most project but really I don't think there isn't a tool that I don't like or won't use.
I have different favorite manufactures for different items...paper-MME, stamps-Viva Las Vegastamps!, tinkets and dies-Tim Holtz and my most recent favorite for chipboard pieces and shapes-Um Wow Studio.
3. How do you usually get started with a layout?
First I like to have an idea of the design of the layout I want to do. Then I pick the picture(s) and next the paper. All the rest just falls into place once I get started.
So, thanks so much for visiting today, I hope you will come back and enter the challenges posted here at S.W.A.T.
Here are a couple of my favorite projects, I hope you like them.