Showing posts with label Gesso. Show all posts

Saturday, October 11, 2014

October Basic Training-Gelatos

Michele from Stuff By Belle here today and if you are like me you have some gelatos that you have played with a little, but never really knew what amazing things you could do with them...well, I saw an amazing Ustream show by Limor Weber that opened my eyes to a great technique for a background.
Today I am going to share my version with you.

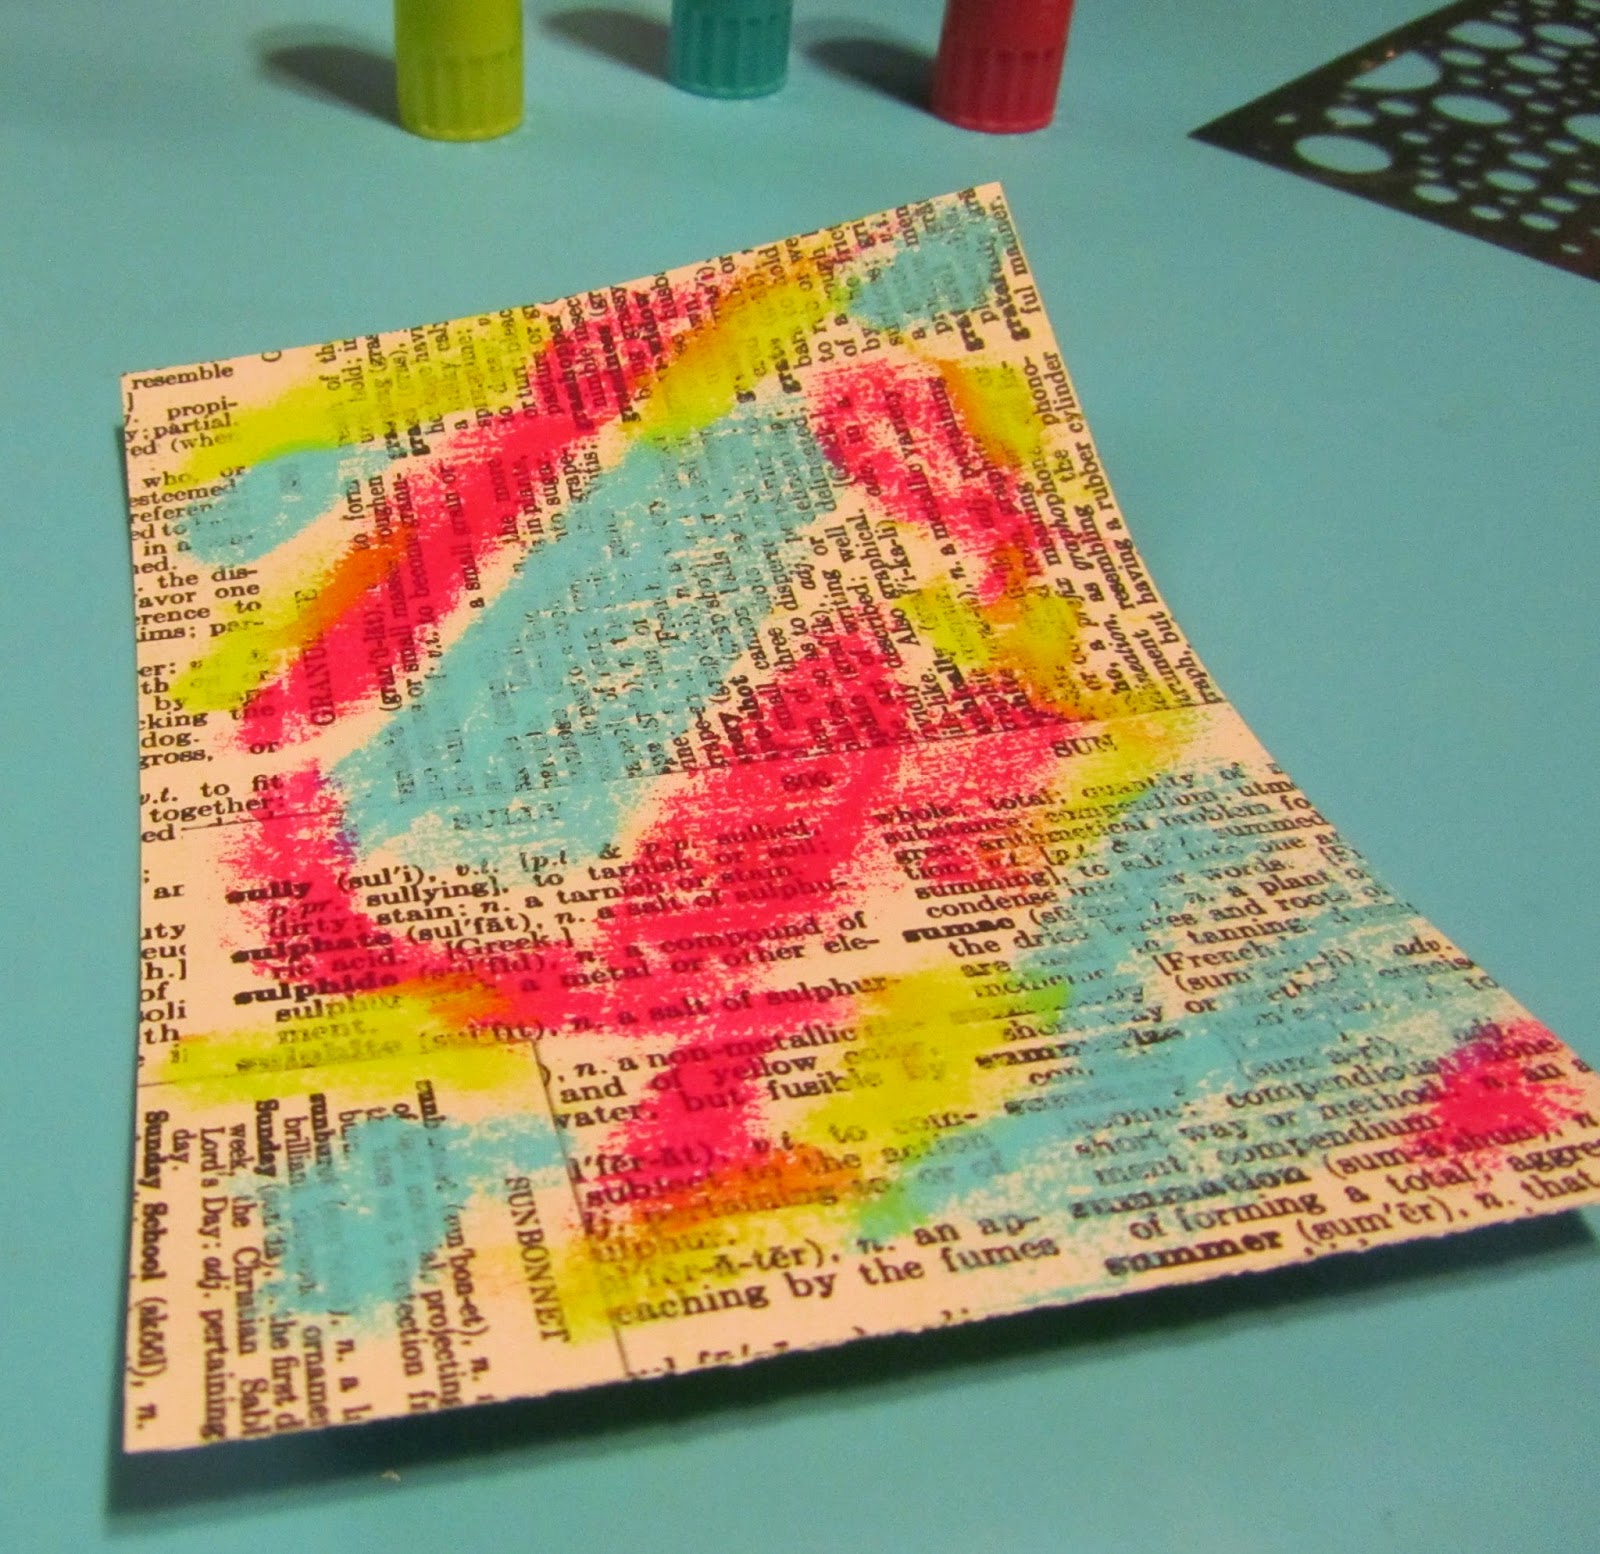
You will need some paper (I used a scrap from my stash), clear gesso, a stencil, a paint brush and gelatos.


  Any combination of colors of gelatos that you like, as many as you want along with black and white will work.


Paint a layer of gesso on your paper and let dry or dry with your heat gun.


 Randomly color with the gelato colors all over the paper.


  Blend with your finger and then flick water on the paper.  Dab with a paper towel, this will create awesome water spots.


 Grab one of your favorite stencils, I used one from Prima.  Lay it on your paper.


 Use some of the black gelato randomly in the stencil, blend with your finger.


 Make sure to fill in the entire opening on the stencil.


I also used some paste in the stencil too.


This is Faber Castell glass bead glitter gel.  It dries clear and sparkley, great texture!!


I used the white around the black for some definition and then shaved some of the colors on the paper and heated them up so they melted.

I used distress ink all around the edges and had a perfect layer for a mixed media card!!


I just love how you can still the see the pattern from the paper through all the layers.


Thanks so much for joining us for Basic Training today!  And don't forget to link up to our drills for your chance to win an awesome prize.

Wednesday, August 20, 2014

Hump Day August 20th


Michele here...Saturday I shared a background technique using a gelli plate (click here to see it).  Today I want to share the finished layout created with that piece of paper.


The paper is Authentique Classique: Pretty Neat and Cursive.  I got this collection in my kit for Scrappy Chic, I just love Authentique!!  I also used an Um Wow Studio mask (circle confetti) with mist for another layer then paint splatters and some modeling paste in the butterfly swarm mask. There is a bit of the damaged punchinella chip (also UWS), some of the new banner ribbon from May Arts, a Kaisercraft flower, Heidi Swapp 'smile' embellishment and a couple of Viva Las Vega Stamps (butterfly specimen and waybill/invoice background).

Here is a close up of the layers of the background.


I had so much fun creating this background!!  I can't wait to try it again.
Thanks so much for stopping by to see my finished layout and make sure to stop back Saturday for our next drill!!

Saturday, January 11, 2014

January Basic Training - Reverse Stenciling

Topic:Reverse Stenciling


Happy Saturday and Happy New Year!!  Thanks for stopping by for our very first basic training of 2014.  Michele here today and I am going to share a technique that can be used on just about ANY project.  I used it on an art journal page for this little demo.


You will need gesso, acrylic paint, sponge or paint brush, baby wipes and stencils.  For this project I started with a page from my art journal.


Cover your surface with a thin coat of gesso.  Let it dry completely.  I am not a patient person so I helped it along with my heat gun but be careful or your gesso will bubble and while I LOVE that technique it cause a bumpy surface and will give you trouble for this technique.
Once your gesso is dry paint on your acrylic paint, I used Distress paint.
While your paint is drying a little take a baby wipe and squeeze out any excess liquid.


Lay your stencil (this is punchinella from Gauche Alchemy) on the paint while it is still a little wet and rub with the wipe.  This removes the paint.


I layered a couple of stencils to create dimension.  This stencil is from UmWow Studios.


After the paint dried completely I wanted even more texture so I used one of the same stencils with some gesso (another of my favorite techniques)


You can layer your paint and layer the different stencils directly on top of each other or spread them around the page...so many options with this but just make sure you let the paint completely dry before you go tot he next layer.

Here is my finished art journal page.


I added stamps from VLVS!, chipboard from UmWow Studios, ribbon from May Arts, washi from Gauche Alchemy, flowers from Prima along with a junkyard finding...you will also notice Tim Holtz filmstrip, paperclip and alphas and Tattered Angels glimmer mists.  Oh, and don't you JUST LOVE vintage Scrabble pieces??!!!

I hope you enjoyed this fun technique and I hope to see it on one of your future projects!  Come back often to play...we have 2 drills every month and your can win fun prizes!

Happy scrappy 2014!

Michele
visit my blog by clicking here :)