Showing posts with label mixed media. Show all posts

Saturday, November 15, 2014

November Basic Training-Stamping Through a Stencil

It is just starting to get cold here and we even had some snow...it is hard to believe it is already November.  Where. does. the TIME. go???

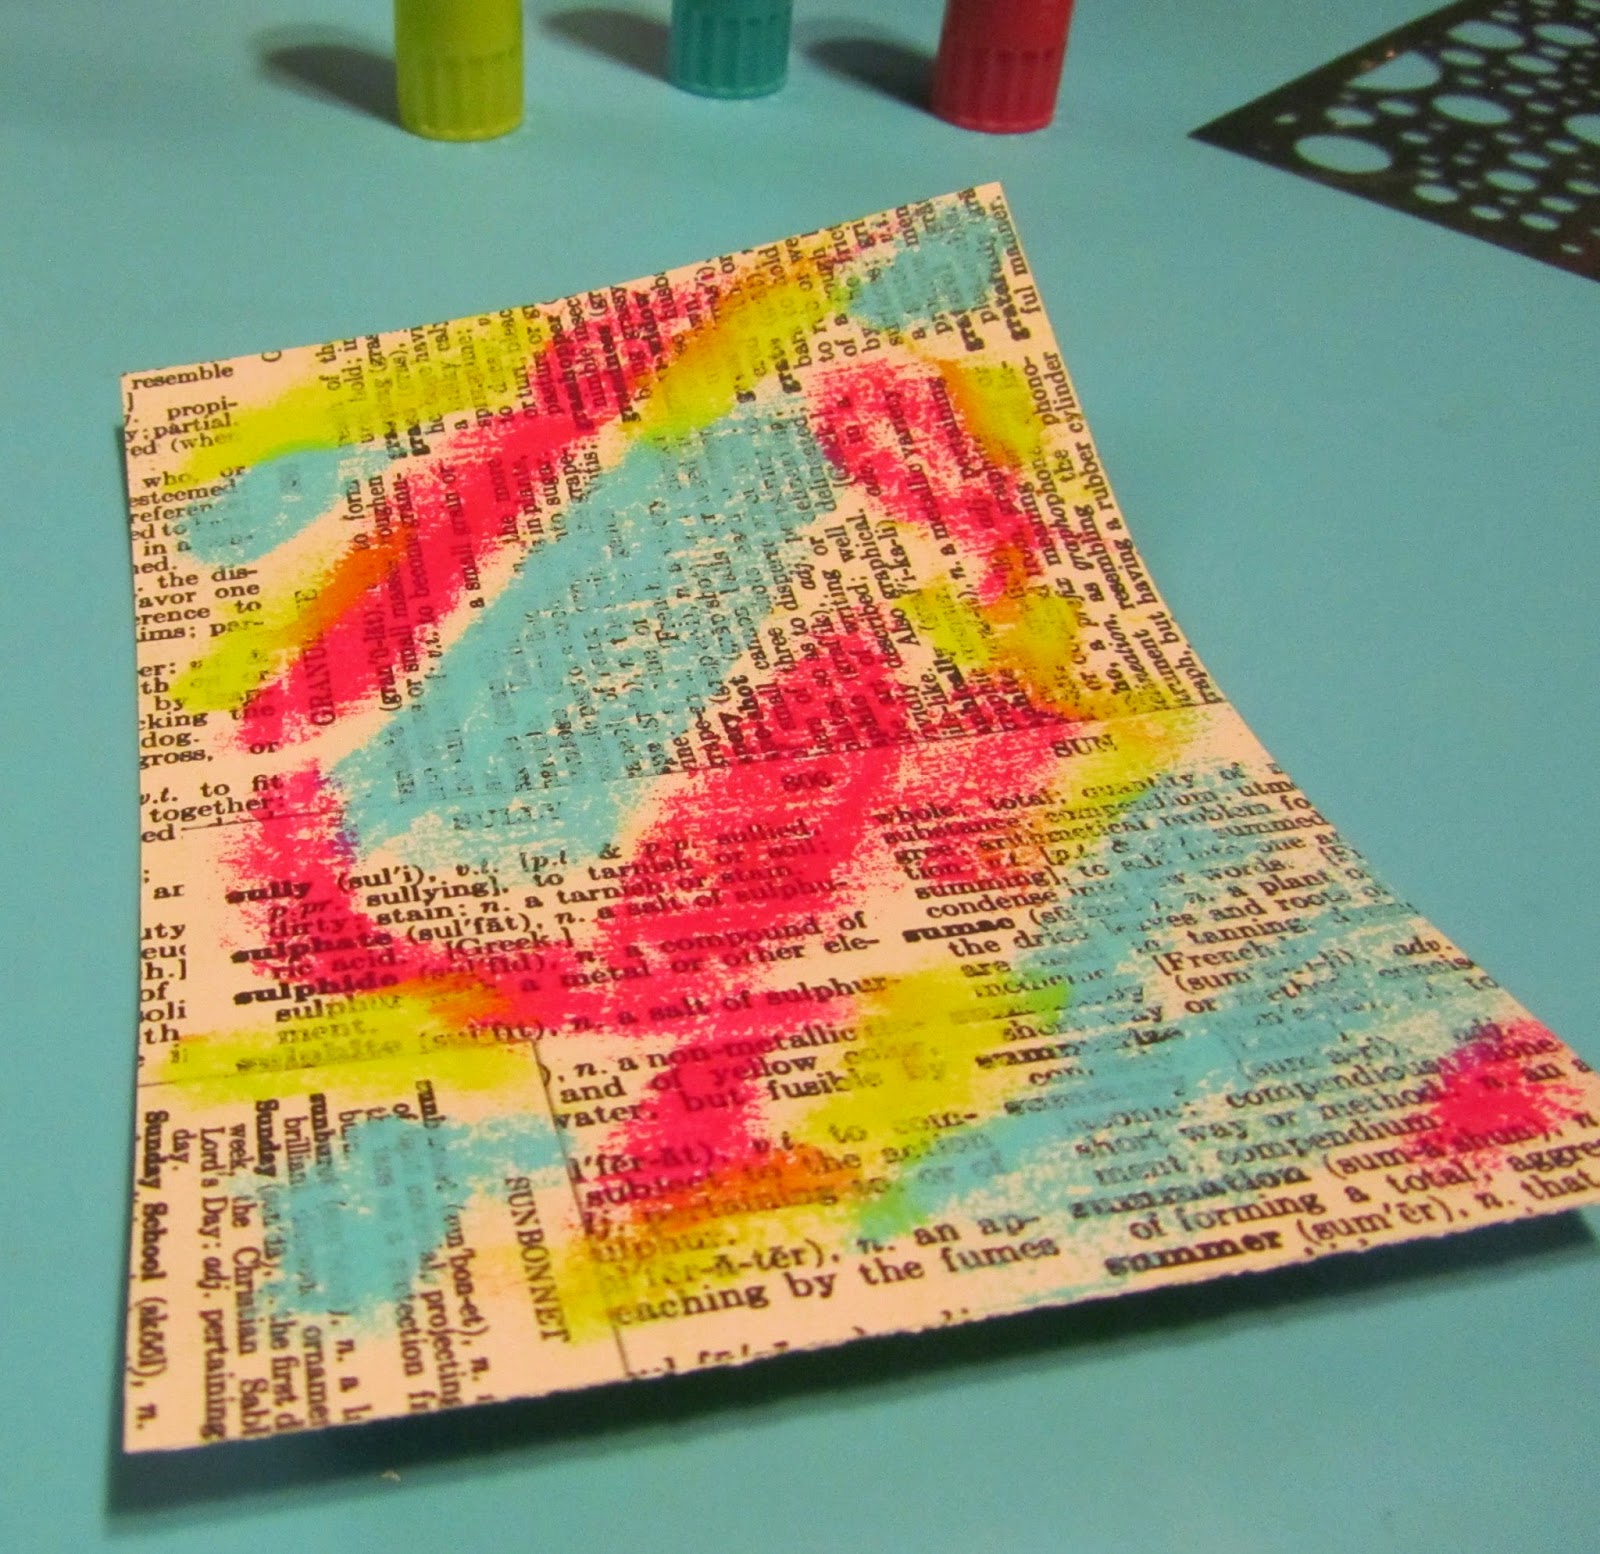
Michele here and today I am sharing a quick technique for stamping through a stencil.  I started with a tag that I already had a few layers of mixed media goodness on, I wanted lots of layers on this tag I made to remind me of the short summer we had.


For this technique you will need a stencil, a stamp, ink, gesso and a spatula (or your finger :) works too).


Lay your stencil down flat.


Apply some gesso.  I used heavy gesso but any type will work.


Carefully lift your stencil off.


Let dry or hurry along with your heat gun.


Lay your stencil back down in the same place.  Make sure the gesso is completely dry before you do.
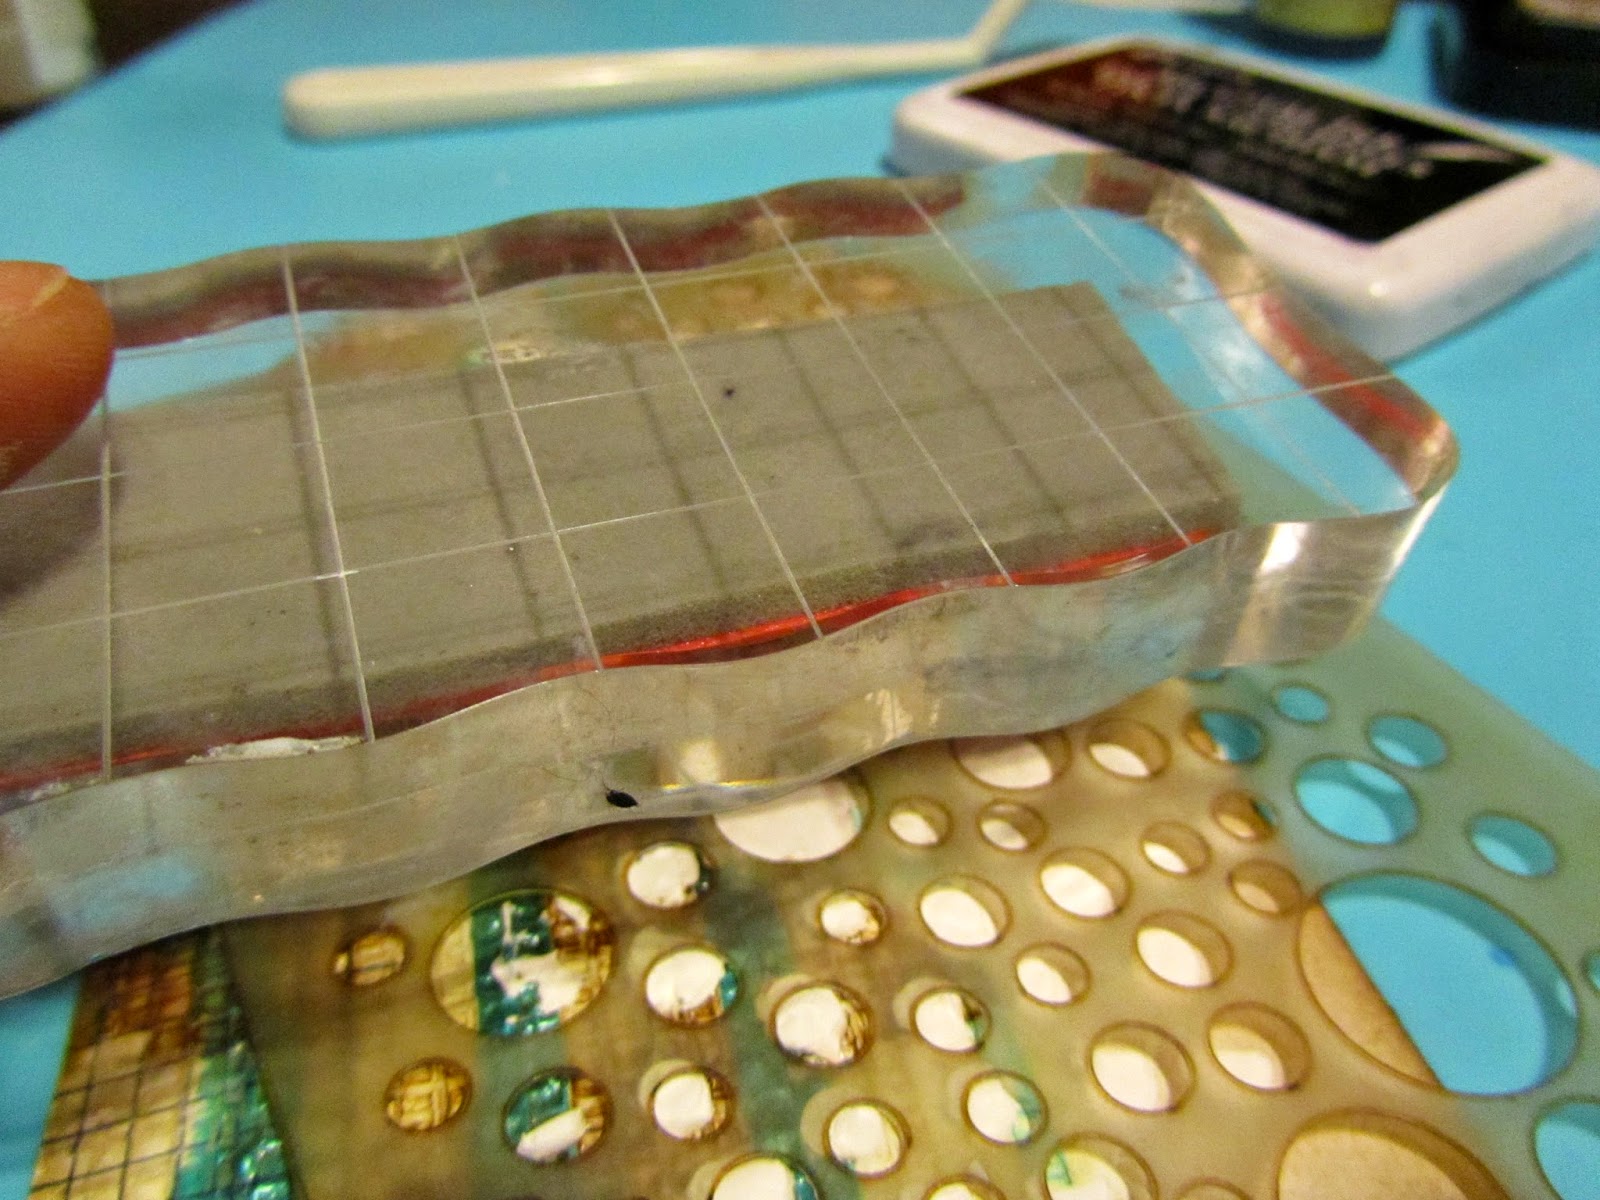

Stamp over the stencil.


 Make sure you apply pressure to make sure the ink takes to the gesso.


Lift the stencil off and viola!

If you would like to see the complete tag pop over to my blog for details, stuffbybelle.

Thanks so much for sharing a part of your day with us!  We look forward to seeing your beautiful working linked up for our challenges.

Saturday, October 11, 2014

October Basic Training-Gelatos

Michele from Stuff By Belle here today and if you are like me you have some gelatos that you have played with a little, but never really knew what amazing things you could do with them...well, I saw an amazing Ustream show by Limor Weber that opened my eyes to a great technique for a background.
Today I am going to share my version with you.

You will need some paper (I used a scrap from my stash), clear gesso, a stencil, a paint brush and gelatos.


  Any combination of colors of gelatos that you like, as many as you want along with black and white will work.


Paint a layer of gesso on your paper and let dry or dry with your heat gun.


 Randomly color with the gelato colors all over the paper.


  Blend with your finger and then flick water on the paper.  Dab with a paper towel, this will create awesome water spots.


 Grab one of your favorite stencils, I used one from Prima.  Lay it on your paper.


 Use some of the black gelato randomly in the stencil, blend with your finger.


 Make sure to fill in the entire opening on the stencil.


I also used some paste in the stencil too.


This is Faber Castell glass bead glitter gel.  It dries clear and sparkley, great texture!!


I used the white around the black for some definition and then shaved some of the colors on the paper and heated them up so they melted.

I used distress ink all around the edges and had a perfect layer for a mixed media card!!


I just love how you can still the see the pattern from the paper through all the layers.


Thanks so much for joining us for Basic Training today!  And don't forget to link up to our drills for your chance to win an awesome prize.

Wednesday, September 17, 2014

Hump Day September 17th


Are you getting back into the swing of things???  Starting your holiday crafting yet??  I am thinking about it but not quite ready yet...
Happy hump day everyone!!  Michele here sharing with you what I created with the background pieces that were made during Basic Training.  I made a set of three thank you cards.  I can ALWAYS use thank you cards!!


Perfect with just a bit of coordinating color.


Don't you just love how the color looks on those perfect little squares!


Moving that color around is so fun!!

The thank you sentiment is a VLVS! stamp inked up with archival ink and fit perfectly on these cards.

Thanks for stopping by and if you are so inspired make sure to link up to our drills this month.
See you Saturday for drill #40.

Saturday, September 13, 2014

September Basic Training-Easy Watercolor Backgrounds

September...oh my goodness where has the time gone??
Michele here today to share a super quick and easy technique for an awesome background!  I have been playing with watercolors a bunch lately and find that you can do SO much with them.

Here, I'll show you...
You'll need watercolor paper, watercolor paint, water and a brush.

 
I cut the watercolor paper to card size.  I ALWAYS need cards!!


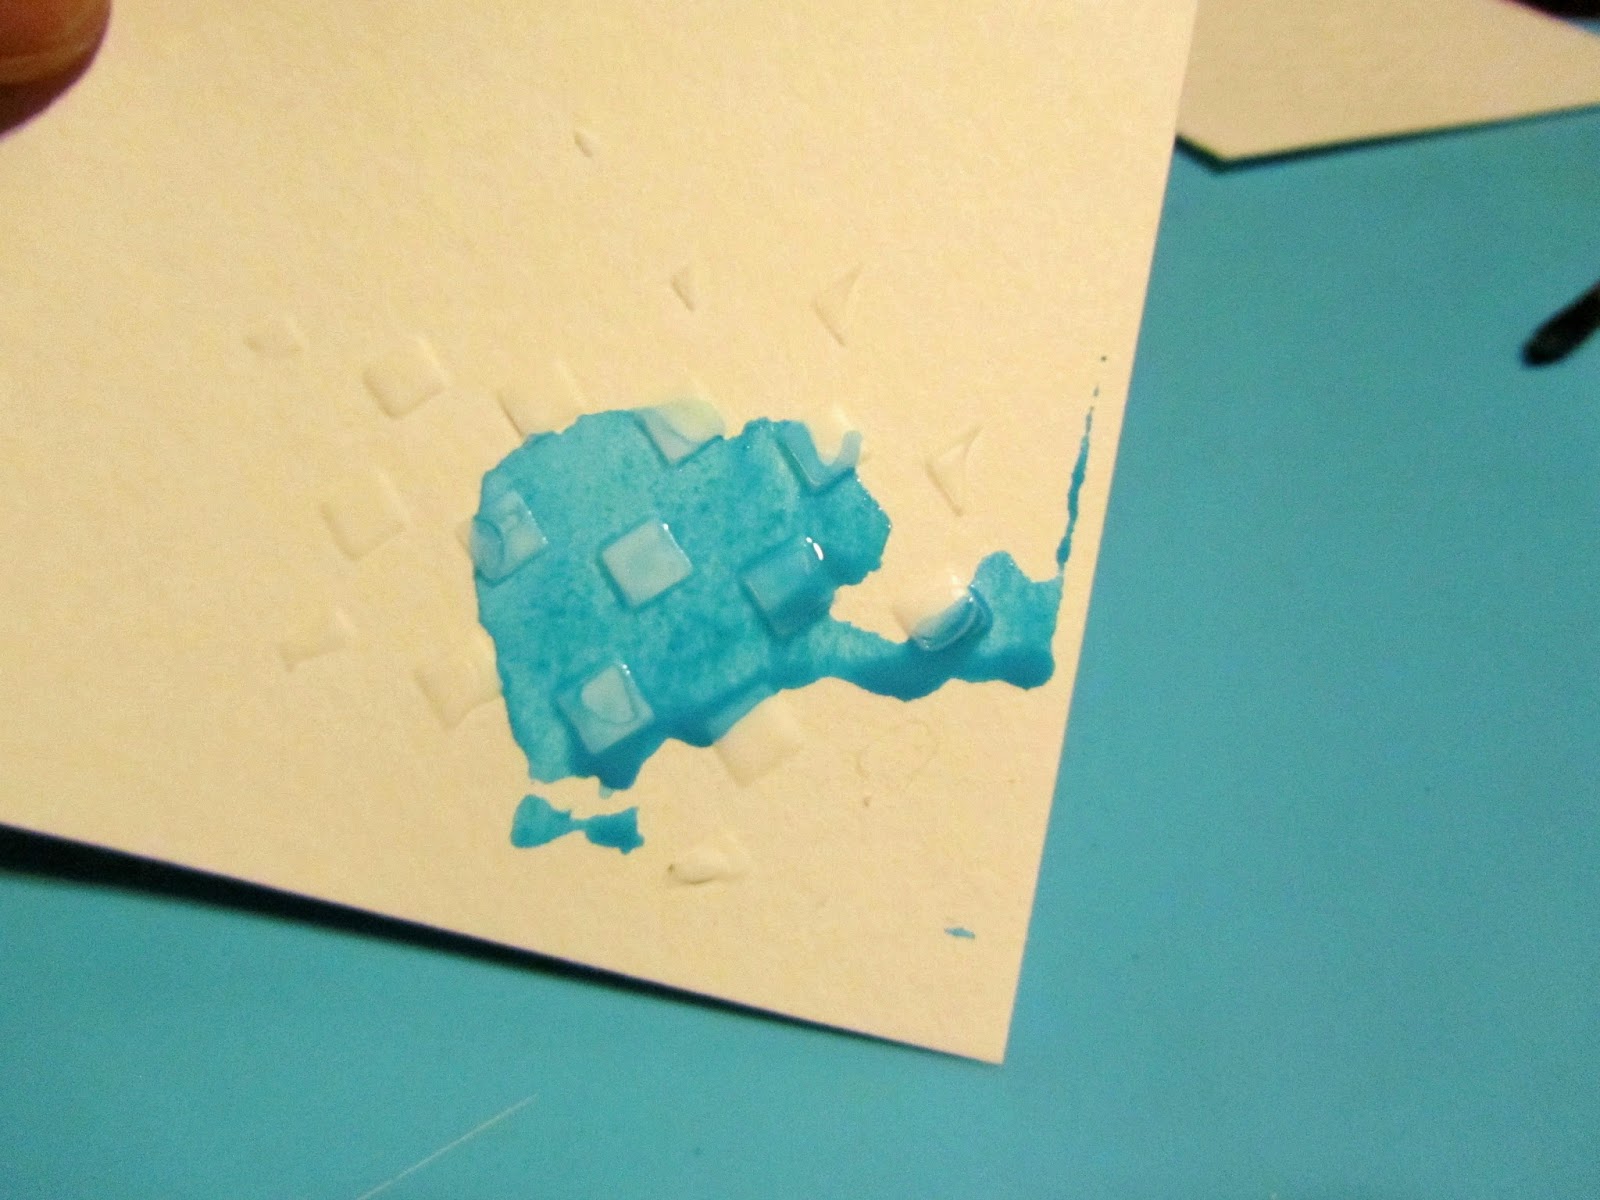
 I wanted a bit of texture also so I also used a stencil (UmWow Studio checkerboard) and gel medium.


  I randomly put some of the gel on the paper through the mask.


 I LOVE the texture you get!!


 I dried with my heat gun...


Once the gel is dry you can add the paint.


Make sure you use a good amount of water!


That way you can get your color to roll around.


I added other colors but the most important thing to remember it to dry in between each color so you don't end up with a blob of mud...  I really like how the texture of the gel stands out with the color on it!!


I did all three of these background is 30 minutes, quick right??!!

Make sure you stop back Wednesday for Hump Day to see the finished product.
Until then get out your watercolors and get messy!!

Oh, and don't forget to enter our current drill for a chance to win a fabulous prize!!

Wednesday, August 20, 2014

Hump Day August 20th


Michele here...Saturday I shared a background technique using a gelli plate (click here to see it).  Today I want to share the finished layout created with that piece of paper.


The paper is Authentique Classique: Pretty Neat and Cursive.  I got this collection in my kit for Scrappy Chic, I just love Authentique!!  I also used an Um Wow Studio mask (circle confetti) with mist for another layer then paint splatters and some modeling paste in the butterfly swarm mask. There is a bit of the damaged punchinella chip (also UWS), some of the new banner ribbon from May Arts, a Kaisercraft flower, Heidi Swapp 'smile' embellishment and a couple of Viva Las Vega Stamps (butterfly specimen and waybill/invoice background).

Here is a close up of the layers of the background.


I had so much fun creating this background!!  I can't wait to try it again.
Thanks so much for stopping by to see my finished layout and make sure to stop back Saturday for our next drill!!

Saturday, August 16, 2014

August Basic Training-Gelli Plate Background

Michele here on this fine August Saturday!  Are you having a great summer??  It sure is going by fast...
A while ago I was inspired to make my own gelli plate with Amazing Mold Rubber (see the inspiration here).  I have dabbled a little bit with it but I was browsing you tube and was inspired yet again.

Today I am going to share a quick technique to create a fun background using a gelli plate (either homemade or one you purchased).


You will need a gelli plate, brayer, paint or gesso and some sort of stencil or mask (I used punchinella).


Smear a bit of your medium on the gelli plate.  You should add enough depending on how big of an area you plan to cover.


Use your brayer to evenly spread it around.  I chose to just cover the middle.


Lay your stencil (you can create layers with more than one) and lift off.


You should see your pattern on the gelli plate.


Lay your paper face down, and press with your hand so you pick up an even background.


Carefully peel the paper off and viola!

Check back Wednesday to see the final layout created with this gesso background.  And while you are here check out our first August drill, you have until the end of the month to link up an entry.

Wednesday, August 6, 2014

Hump Day August 6th


It's HUMP DAY!!  Whoop, whoop!!!  Michele here with a little mid week inspiration to share.

I was in my craft room this weekend working on various projects and started one just for me, you know a little experiment with modeling paste and vellum as a background.

I was excited with how it turned out...


For more details pop over to my blog.

Thanks so much for sharing part of your day with us and make sure you visit Saturday for our next drill.
Happy creating!!


Wednesday, April 16, 2014

Hump Day!


Hello All! Lanette here today!

As you may know Earth Day was founded in 1970 as a day of education about environmental issues, Earth Day is now a globally celebrated holiday that is sometimes extended into Earth Week, a full seven days of events focused on green awareness. So with Earth Day rapidly approaching I thought I would share a canvas that I created using recycled plastic bags.. Yes these bags!


As you can see I started by ripping the bags into long strips. I then glued them to the center of a paper circle. From there I just rolled, twisted and glued. They ended up looking like this:
 
Next I added a layer of gesso and some bright Art Anthology Colorations Spray & a tiny bit of stamping.

While my tops dried I went to work on my canvas adding doilies, mesh and heavy gesso for lots of yummy texture! Then I used so more Art Anthology Colorations Spray to create my landscape. 
 
 
After everything was dry I added my assembled my trees and added my quote. With a bit of stamping I was done!
 

Some details for fun :)


So this Earth Day (and everyday) I will try to keep this quote in mind and strive to make some greener choices. But hey if I slip up and bring home more plastic bags at least I know I can make some pretty trees!

Thanks so much for stopping by today!

 If you liked my recycling project hop on over to 
Practical Scrappers and check out this months Frugal Finds Projects.


Other Products Used: Bo Bunny Doilies, White Mesh, Faber Castell Pitt Markers, Heavy Gesso, Acrylic Black Paint, Prima Stamps, Decoupage, Hot Glue and some Plastic Shopping Bags.