Showing posts with label step by step. Show all posts

Saturday, November 15, 2014

November Basic Training-Stamping Through a Stencil

It is just starting to get cold here and we even had some snow...it is hard to believe it is already November.  Where. does. the TIME. go???

Michele here and today I am sharing a quick technique for stamping through a stencil.  I started with a tag that I already had a few layers of mixed media goodness on, I wanted lots of layers on this tag I made to remind me of the short summer we had.


For this technique you will need a stencil, a stamp, ink, gesso and a spatula (or your finger :) works too).


Lay your stencil down flat.


Apply some gesso.  I used heavy gesso but any type will work.


Carefully lift your stencil off.


Let dry or hurry along with your heat gun.


Lay your stencil back down in the same place.  Make sure the gesso is completely dry before you do.
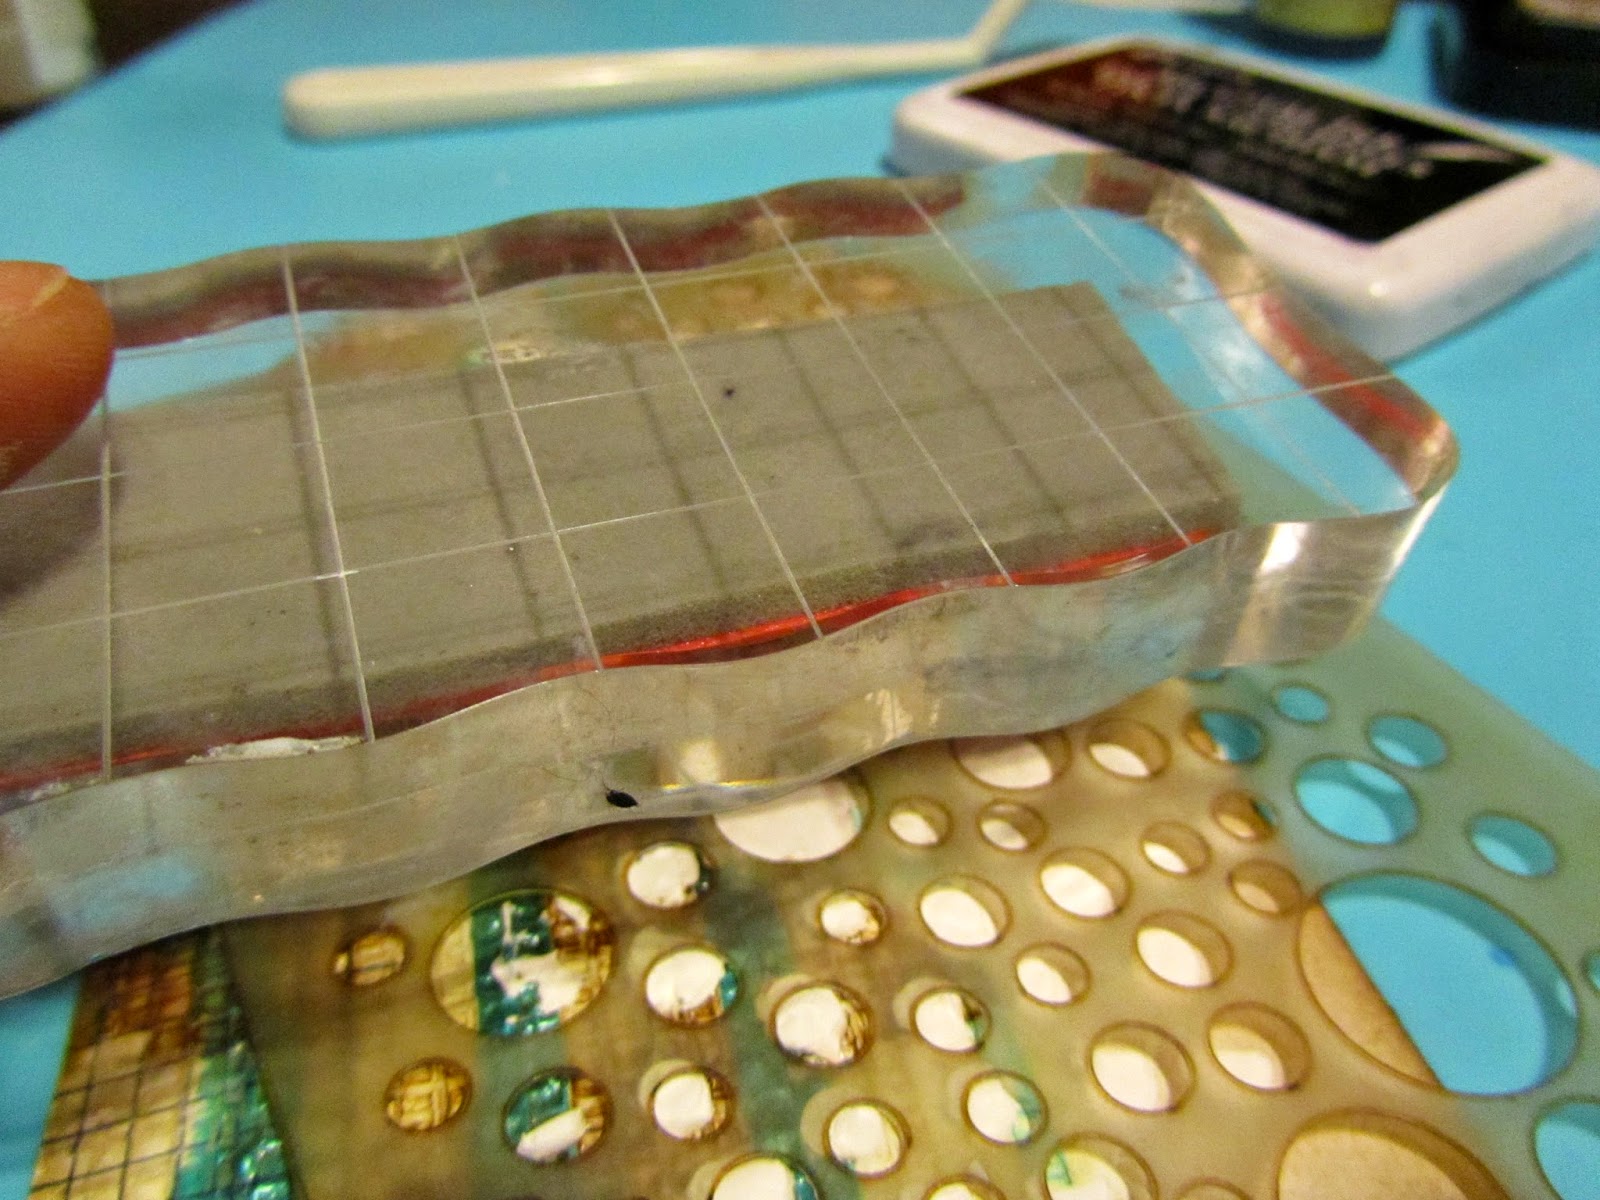

Stamp over the stencil.


 Make sure you apply pressure to make sure the ink takes to the gesso.


Lift the stencil off and viola!

If you would like to see the complete tag pop over to my blog for details, stuffbybelle.

Thanks so much for sharing a part of your day with us!  We look forward to seeing your beautiful working linked up for our challenges.

Saturday, August 16, 2014

August Basic Training-Gelli Plate Background

Michele here on this fine August Saturday!  Are you having a great summer??  It sure is going by fast...
A while ago I was inspired to make my own gelli plate with Amazing Mold Rubber (see the inspiration here).  I have dabbled a little bit with it but I was browsing you tube and was inspired yet again.

Today I am going to share a quick technique to create a fun background using a gelli plate (either homemade or one you purchased).


You will need a gelli plate, brayer, paint or gesso and some sort of stencil or mask (I used punchinella).


Smear a bit of your medium on the gelli plate.  You should add enough depending on how big of an area you plan to cover.


Use your brayer to evenly spread it around.  I chose to just cover the middle.


Lay your stencil (you can create layers with more than one) and lift off.


You should see your pattern on the gelli plate.


Lay your paper face down, and press with your hand so you pick up an even background.


Carefully peel the paper off and viola!

Check back Wednesday to see the final layout created with this gesso background.  And while you are here check out our first August drill, you have until the end of the month to link up an entry.

Saturday, July 12, 2014

July Basic Training-Embossing Powder in Silicone Molds


Summer is in full swing and it seems like in the summer I use more flowers on my projects.  I was surfing the web the other day and came across a tutorial over at Amazing Craft Products that I found very intriguing (you can see it here).  They were using embossing powder in molds....I changed it up a bit and wanted to share it with you today.  I have had these silicone molds (Martha Stewart) for a LONG time and this was finally a perfect time to break them out!!  I started with flowers for this tutorial.


You will need a silicone mold, embossing powder and a heat gun.  I used my ranger gun because it doesn't blow air but I also tried my other heat gun and it can be used...you just have to start by heating from the bottom.


Fill your mold with powder, pat it down a little.


Start heating with your heat gun.


Once the embossing powder starts to melt then heat from the bottom.  I used tweezers so I wouldn't heat up my hand too.  :)  Once it looks all liquidy set it aside to cool COMPLETELY.


Once it is cool you can bend the mold so the shape pops up.


You will have to clean up the edges once you pop it out of the mold, be careful not to chip too much off,


Here are a couple of different sizes and colors.

Make sure to stop back Wednesday for hump day to see what I made with these fun and easy flower embellishments.

Thanks so much for sharing part of your day with us here at S.W.A.T.!  See you soon!!!
Michele

Wednesday, October 16, 2013

Happy Hump day!


Happy Hump Day Everyone!
 Deborah is up and she has some beautiful
flowers to share with you!


Good morning Scrappy-Happy Friends!!

Wanted to share with you all how I the flowers that you may have seen on several of my layouts lately.  They are super easy and take less than 10 minutes to create.

Supplies that I used:

2 3/8" scalloped circle punch from Stampin' Up!
scissors
brads
colorful scrapbook paper


Punch a scalloped circle (or two!)

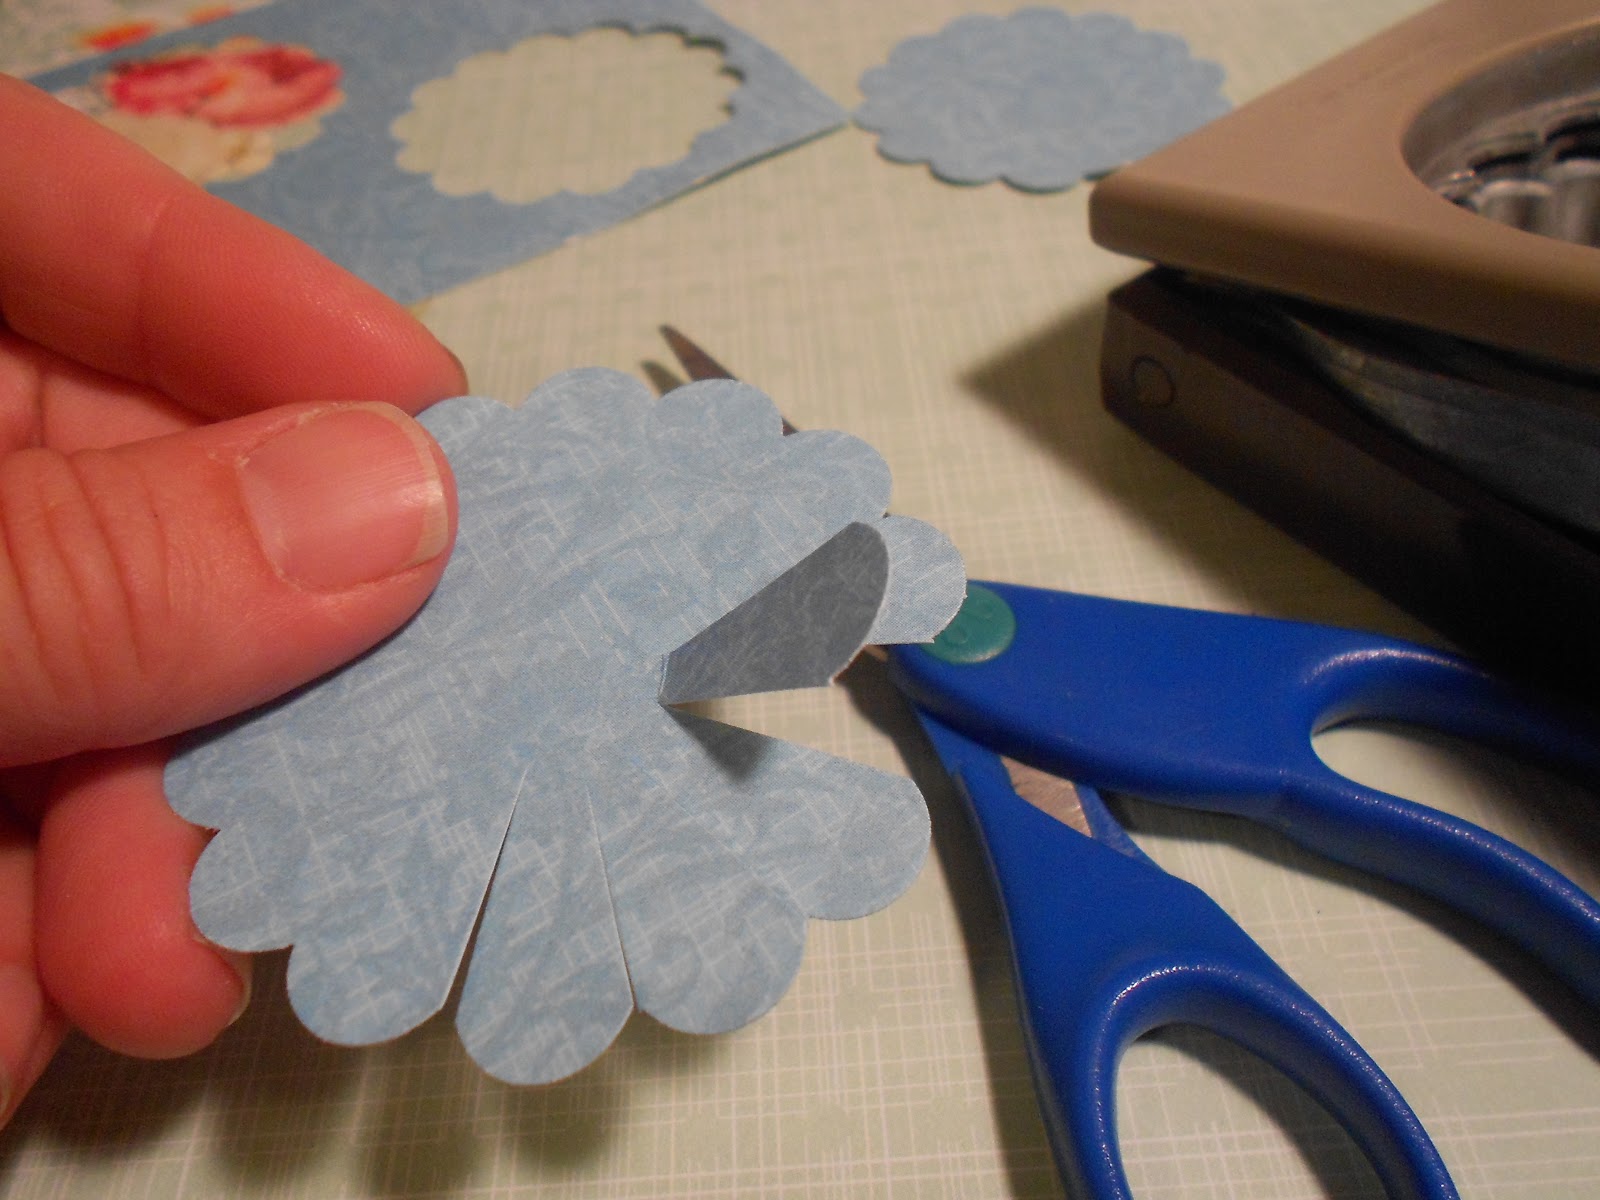
Cut "petals" into the circle...

all the way around ...

Begin bending the petal edges back.


This is what it looks like when the are all bent.

Turn the flower over like this:

Press a brad through the center and "pinch" the flower to conform to your desired look.

Ta-dah!

On a project:

Thank you for stopping by and have a scrappy-happy day!