Showing posts with label UmWow Studio. Show all posts

Saturday, January 17, 2015

January Basic Training-Add a little Sparkle!!

Welcome to 2015!!!
Today we are going to bring on the twinkle and look at a way add some sparkle to any project.
I have been hearing a lot about a technique using a used dryer sheet so I had to look into it...WOW does it add some serious sparkle!!
So here we go...


You will need:  a stamp, cardstock (cut to size), ink, spray adhesive, extra fine glitter and a used dryer sheet.


I stamped my main image in black archival ink then used a grey to stamp offset then again without reinking.  You could also just stamp a couple more time with your black ink with out reinking.


Smooth out or iron your dryer sheet, cut to size with scissors or on your paper trimmer.


Spray your paper with a generous coat of adhesive.


Adhere your dryer sheet.


Right away before the adhesive dries coat with glitter.  Tap off excess and trim dryer sheet if necessary.
That's it, easy peasy!!  Now you are ready to create, I made a card.


I used Authentique Believe, Viva Las VegaStamps, May Arts ribbon, Um Wow Studio snowflake confetti.


These pictures really don't do the sparkle justice!!  It twinkles and catches the light!!  I think I need to use this on my holiday cards next year!!!
Thanks for stopping by and remember to check out our drills for January!!

Saturday, December 13, 2014

December Basic Training-Framed Stamping

Where has this year gone??!  Can you believe it is time for our last Basic Training of 2014?   Since Christmas is right around the corner I am going to share a new technique I learned on a Christmas card.  Over at Viva Las VegaStamps! DT member Hermine is one of my stamping idols and she shared a technique with overlapped circles framing some awesome stamping....here is my take on it that technique.


You will need a piece of cardstock with 2 different size circles (different but close), ink, stamp, pen, stencil and a bit of washi tape.


I started with the larger circle.


Traced the circle.


Then used the smaller circle, offsetting and traced.  I did this a couple of times.


Then I aligned my circle to use as a mask.


Taped it with the washi and stamped the image in the circle.  I used a Viva Las VegaStamps! Santa Smoking.


I used black ink because i planned on watercoloring the image.


I used my favorite Um Wow Studio mask, star confetti, and stenciled some of the tiny stars where the lines overlapped.


I absolutely love this technique!!!  There are just so many possibilities...


All Authentique paper, Bo Bunny doily, May Arts silk ribbon, Distress Markers, Um Wow Studio star confetti and flair from the Be Merry set.


Thank you SO much for sharing a part of your day with us at this busy time of year!  I hope you are inspired to try this fun technique AND have a MERRY CHRISTMAS!

Saturday, September 13, 2014

September Basic Training-Easy Watercolor Backgrounds

September...oh my goodness where has the time gone??
Michele here today to share a super quick and easy technique for an awesome background!  I have been playing with watercolors a bunch lately and find that you can do SO much with them.

Here, I'll show you...
You'll need watercolor paper, watercolor paint, water and a brush.

 
I cut the watercolor paper to card size.  I ALWAYS need cards!!


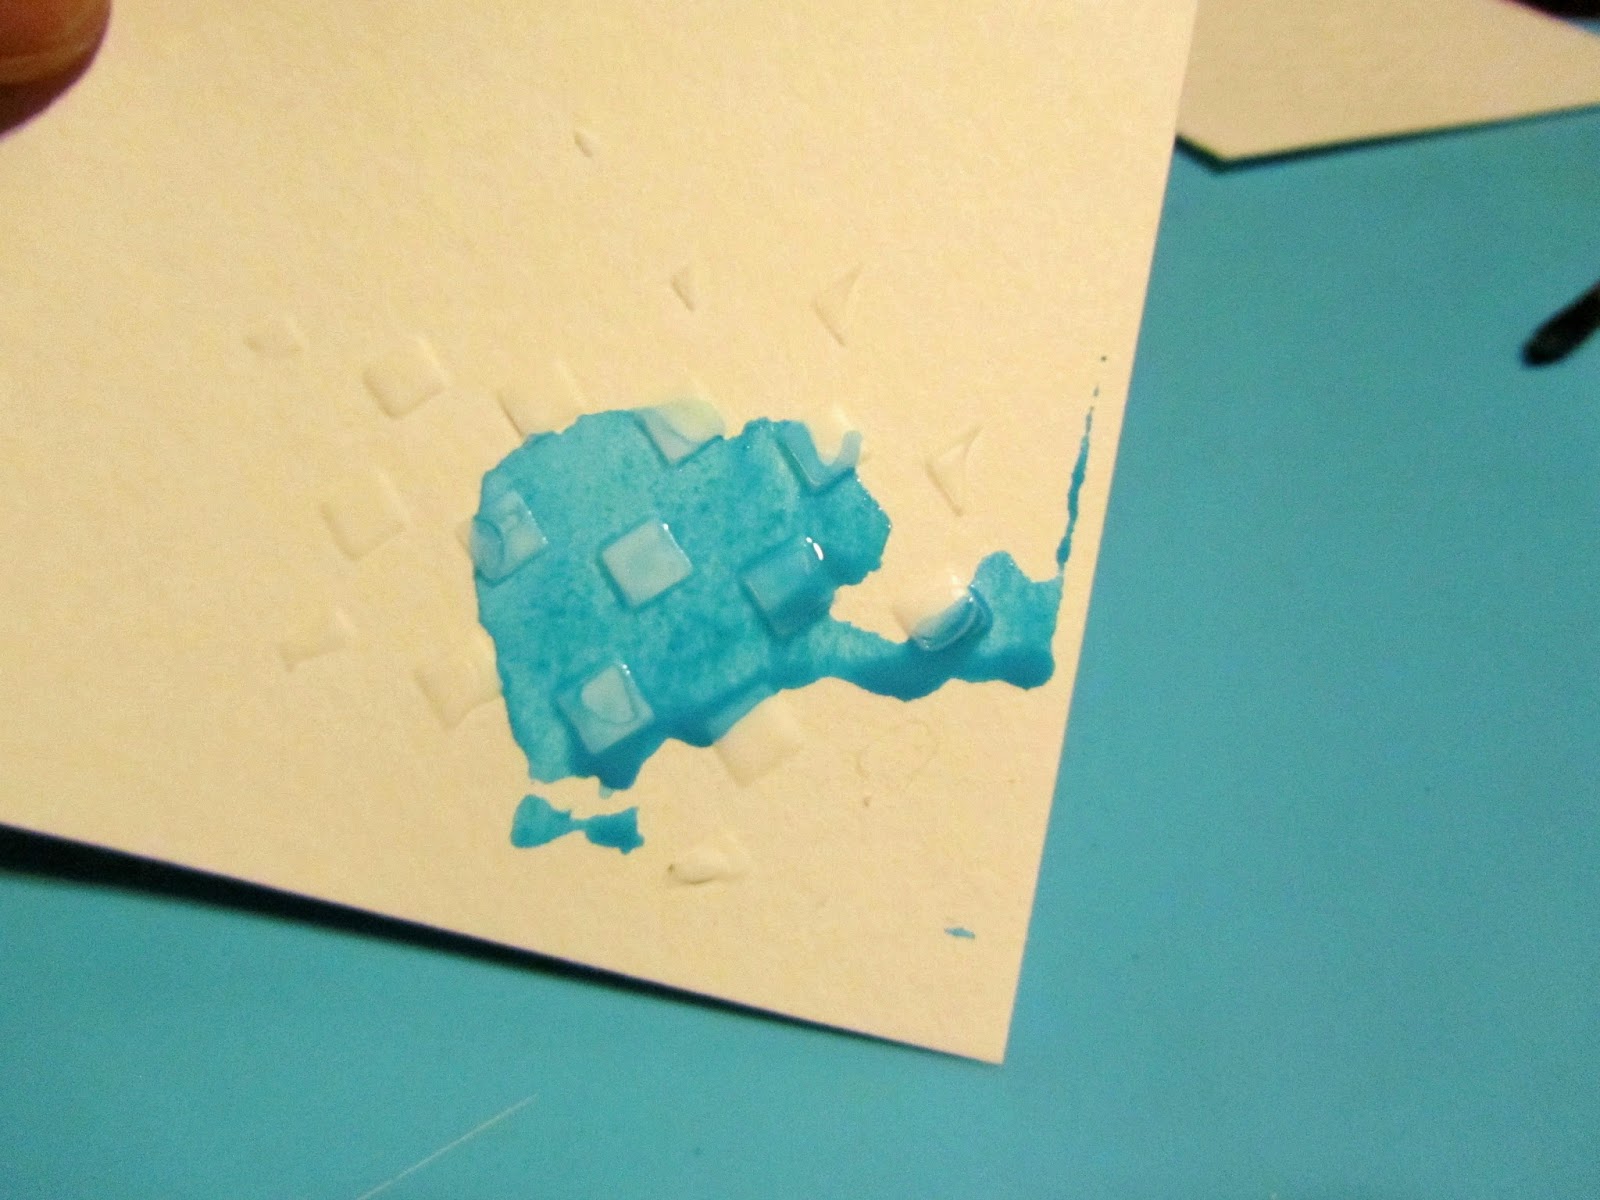
 I wanted a bit of texture also so I also used a stencil (UmWow Studio checkerboard) and gel medium.


  I randomly put some of the gel on the paper through the mask.


 I LOVE the texture you get!!


 I dried with my heat gun...


Once the gel is dry you can add the paint.


Make sure you use a good amount of water!


That way you can get your color to roll around.


I added other colors but the most important thing to remember it to dry in between each color so you don't end up with a blob of mud...  I really like how the texture of the gel stands out with the color on it!!


I did all three of these background is 30 minutes, quick right??!!

Make sure you stop back Wednesday for Hump Day to see the finished product.
Until then get out your watercolors and get messy!!

Oh, and don't forget to enter our current drill for a chance to win a fabulous prize!!

Wednesday, August 20, 2014

Hump Day August 20th


Michele here...Saturday I shared a background technique using a gelli plate (click here to see it).  Today I want to share the finished layout created with that piece of paper.


The paper is Authentique Classique: Pretty Neat and Cursive.  I got this collection in my kit for Scrappy Chic, I just love Authentique!!  I also used an Um Wow Studio mask (circle confetti) with mist for another layer then paint splatters and some modeling paste in the butterfly swarm mask. There is a bit of the damaged punchinella chip (also UWS), some of the new banner ribbon from May Arts, a Kaisercraft flower, Heidi Swapp 'smile' embellishment and a couple of Viva Las Vega Stamps (butterfly specimen and waybill/invoice background).

Here is a close up of the layers of the background.


I had so much fun creating this background!!  I can't wait to try it again.
Thanks so much for stopping by to see my finished layout and make sure to stop back Saturday for our next drill!!

Wednesday, August 6, 2014

Hump Day August 6th


It's HUMP DAY!!  Whoop, whoop!!!  Michele here with a little mid week inspiration to share.

I was in my craft room this weekend working on various projects and started one just for me, you know a little experiment with modeling paste and vellum as a background.

I was excited with how it turned out...


For more details pop over to my blog.

Thanks so much for sharing part of your day with us and make sure you visit Saturday for our next drill.
Happy creating!!


Wednesday, April 23, 2014

Hump Day: Created for you by Michele


Happy HUMP Day!!!
 
Michele with stuff by belle here today...have you been is a scrappy slump lately??  Well I have and no matter how many time I went down to my 'lair', as my friend Amber would say, I wasn't inspired...and then SUDDENLY it hit me!  I just picked up a new Quickutz die and had an idea!
I made these 2 cards lickety split all with scraps of paper from my scrap bin.


MME, Authentique and Bazzill Basics paper scraps, Viva Las Vegastamps! sentiment stamps, bits of UmWow Studio chipboard confetti, May Arts burlap twine and Tattered Angels glimmer list.


Clean and simple, quick and easy and I love how they turned out.  Feather are fun!

If you are like me and have been in a slump or even if you're not, I hope you are inspired to crafty today!!  Thanks for stopping by and we will see you soon for our next drill!

Wednesday, January 29, 2014

Hump Day Beauty!


HAPPY HUMP DAY! Michele here on this fine Wednesday... This week I would like to share with you a project that was featured over at 3 Girl Jam Saturday!!   Make sure you check out all the pretty ribbons over at their store!!

I created this mixed canvas using 2 ribbons from the 3 Girl Jam store, pink crinkle ribbon and jute ribbon.


Gesso and gold crackle modeling paste are smeared over an UmWow Studio chipboard piece, hexagon background.  My cicada, also from UmWow, is painted with distress paint, gesso and crackle modeling paste and then pinned to the canvas.  I used some Studio Calico wood alphas and a banner which is also pinned to the canvas.


Thanks for stopping by today
and I hope you are inspired to CREATE!!

Saturday, January 11, 2014

January Basic Training - Reverse Stenciling

Topic:Reverse Stenciling


Happy Saturday and Happy New Year!!  Thanks for stopping by for our very first basic training of 2014.  Michele here today and I am going to share a technique that can be used on just about ANY project.  I used it on an art journal page for this little demo.


You will need gesso, acrylic paint, sponge or paint brush, baby wipes and stencils.  For this project I started with a page from my art journal.


Cover your surface with a thin coat of gesso.  Let it dry completely.  I am not a patient person so I helped it along with my heat gun but be careful or your gesso will bubble and while I LOVE that technique it cause a bumpy surface and will give you trouble for this technique.
Once your gesso is dry paint on your acrylic paint, I used Distress paint.
While your paint is drying a little take a baby wipe and squeeze out any excess liquid.


Lay your stencil (this is punchinella from Gauche Alchemy) on the paint while it is still a little wet and rub with the wipe.  This removes the paint.


I layered a couple of stencils to create dimension.  This stencil is from UmWow Studios.


After the paint dried completely I wanted even more texture so I used one of the same stencils with some gesso (another of my favorite techniques)


You can layer your paint and layer the different stencils directly on top of each other or spread them around the page...so many options with this but just make sure you let the paint completely dry before you go tot he next layer.

Here is my finished art journal page.


I added stamps from VLVS!, chipboard from UmWow Studios, ribbon from May Arts, washi from Gauche Alchemy, flowers from Prima along with a junkyard finding...you will also notice Tim Holtz filmstrip, paperclip and alphas and Tattered Angels glimmer mists.  Oh, and don't you JUST LOVE vintage Scrabble pieces??!!!

I hope you enjoyed this fun technique and I hope to see it on one of your future projects!  Come back often to play...we have 2 drills every month and your can win fun prizes!

Happy scrappy 2014!

Michele
visit my blog by clicking here :)